We wanted to create a modernish nursery that had no real theme but just had lots of bright colors and simple shapes. It worked pretty well, I think, but I did get a little obsessed with owls as I went along. Not enough to make it a theme I don't think, but you'll see owls sprinkled around a little.
I wanted to make a handmade mobile for the baby, but I sort of liked the idea that store-bought mobiles could move and play music. I got inspiration when I saw a mobile at TJ Maxx that was missing some pieces (it was also fairly ugly). In a move that is totally unlike me, I talked to the manager and asked if I could get it for a discount because it was missing the little arm covers that were shown on the box. The manager said yes and I got this mobile that winds up to move and play music for only $10.
I found these absolutely ADORABLE owl stuffies on Flickr and decided to make the mobile with little owls that are sewn from the fabrics that I used around the rest of the nursery. I made one test one and loved it, so I gathered everything I would need to make 3 more.
Using the great directions in tutorials by Jenny the Artist and Moonstitches, I sewed these little guys up in just a few minutes. It was a little more fiddly to do the rest of the sewing by hand, but once I got that first one figured out it took no time at all.
I love each of these little guys so much I can't help but show you each one separately. It would be unfair to focus on just one.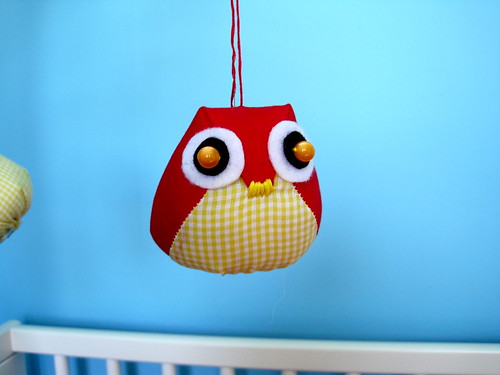
One major hint I would offer to anyone making owl stuffies (or any other stuffies for that matter) is to splurge on felt that has sticky glue on the back. It is SO much easier to work with the tiny little felt circles if they just stick where they are supposed to end up while you sew.
I seriously don't have a favorite. I love them all.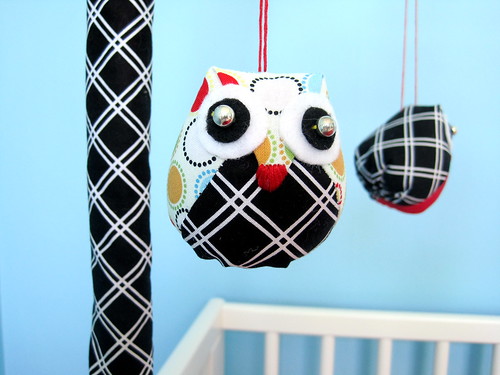
As always, my embroidery skills leave lots to be desired, but I tried to use a satin stitch for the little beaks.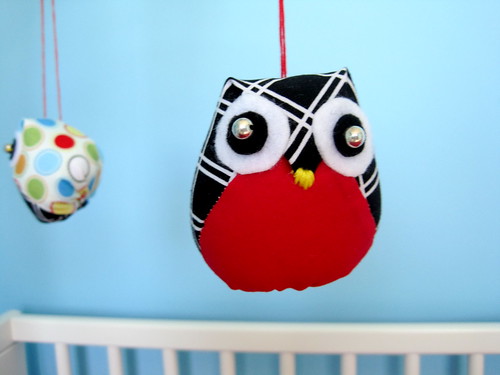
I threaded the red embroidery thread through the backs of the owls at an angle so that they were all facing down toward the baby. That way he'd be able to see the contrast, which is kind of the whole point of mobiles, from what I understand. It bugs me when mobiles are angled so that adults can see how cute they are but the babies can only see the boring bottoms.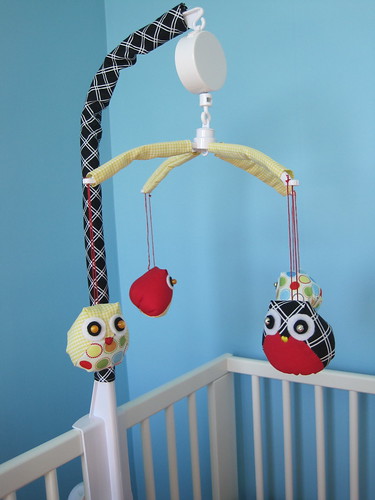
For the base and the arms, I just measured the girth of each piece, added half an inch along each side for seam allowance, and cut rectangles. Then I hemmed the short ends and sewed the long ends together to form tubes. Slip the tubes over the base and arms and you have custom-fit covers. I did NOT want any ruffly or ruched-looking lines, so I tried hard to make the measurements as exact as possible so the tubes would fit on exactly and look straight and clean. 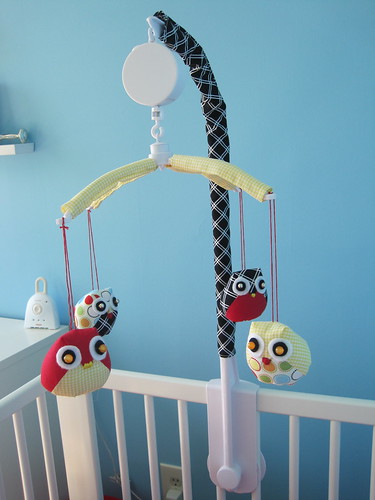
I'm thrilled with the results- this makes me want to squee every time I look in the tiny little room where our boy is going to live. I'll show you more sewing soon- I'm trying to figure out the best way to take pictures in such a teeny tiny space.
Tuesday, May 4, 2010
Owl Mobile
Posted by
Farrah
at
4:33 PM
![]()
Subscribe to:
Comment Feed (RSS)


|